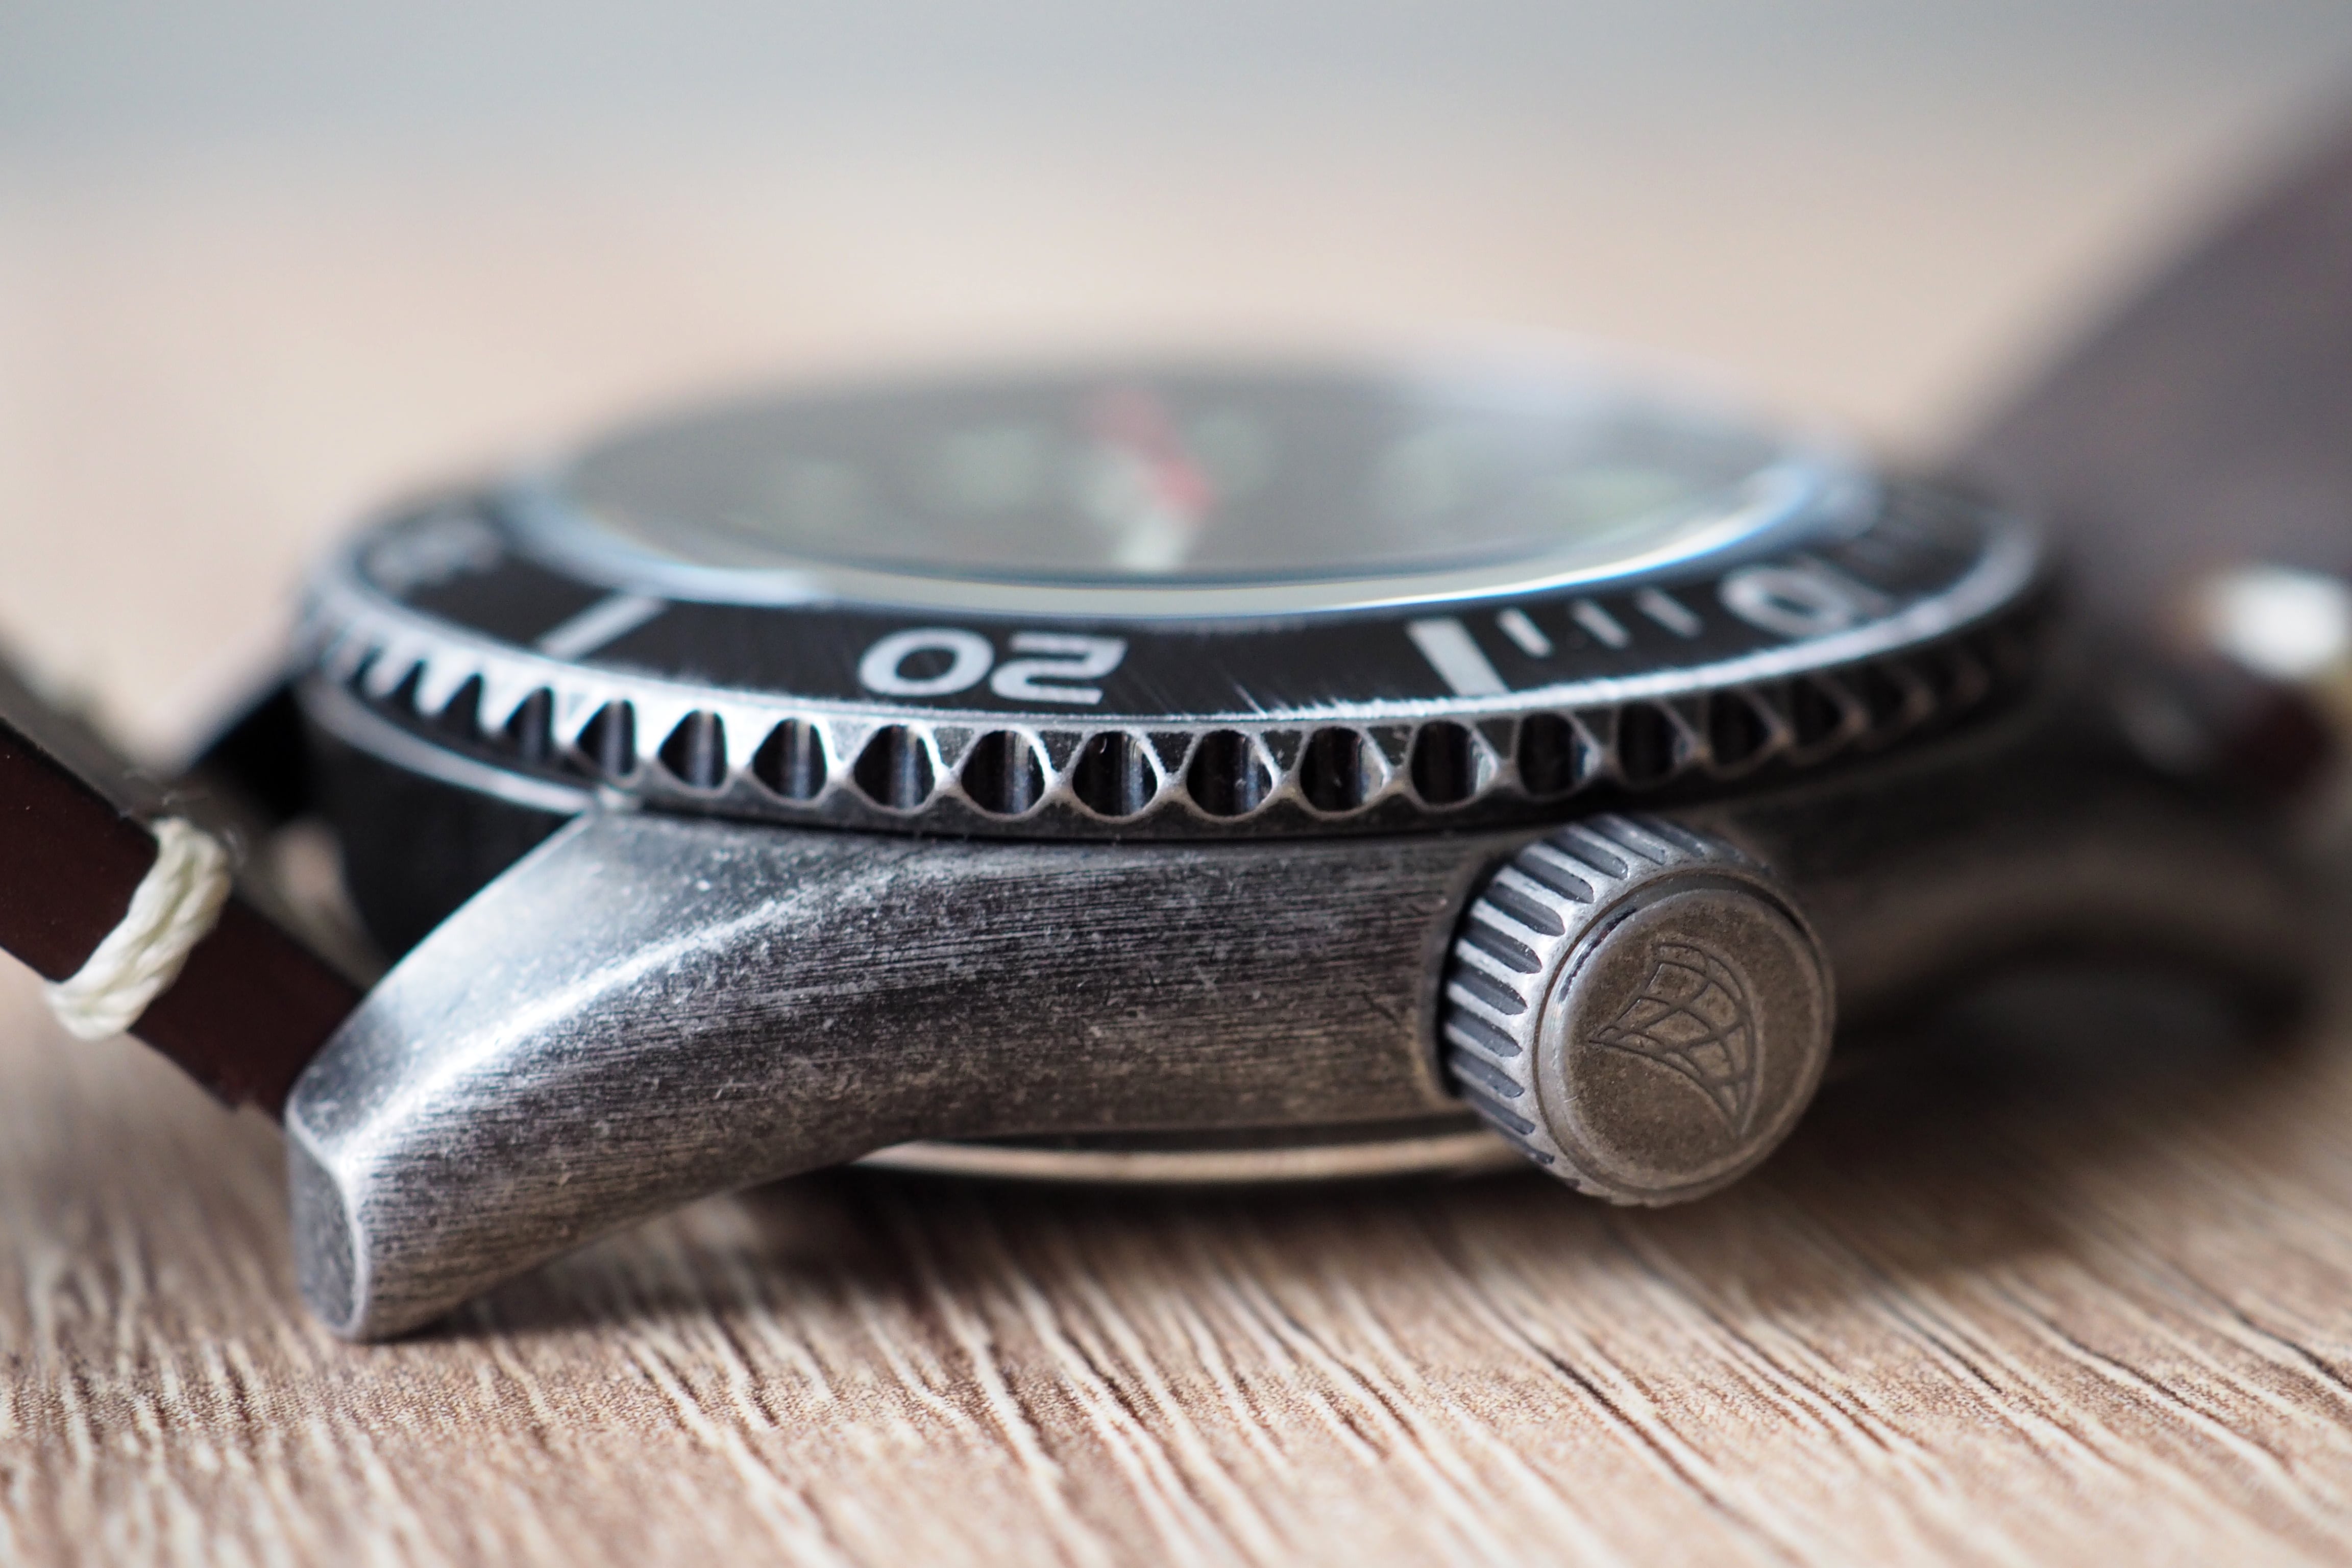
Tightening the bezel on a watch is not as simple as it may seem in most cases. This subject was brought up to me recently as one of my friends received a brand new watch that arrived with a fairly loose rotating timing bezel. We wanted to explore the idea of tightening the bezel ourselves instead of having the hassle of sending the watch back for exchange. We did end up returning the watch, but we learnt a lot about how to fasten the bezel ourselves at home.
One of the very first things you need to establish before you even begin to explore this idea is the type of bezel you’re going to be working on. Of course in the watch world there’s many types of bezels out there, there’s fixed, round, square, rotating, screw-on and snap-on – just to name a few. The method you choose to follow will depend completely on which type of bezel your watch has, and it’s best to consult the watch manual or brand for more information for your specific watch.
Workspace
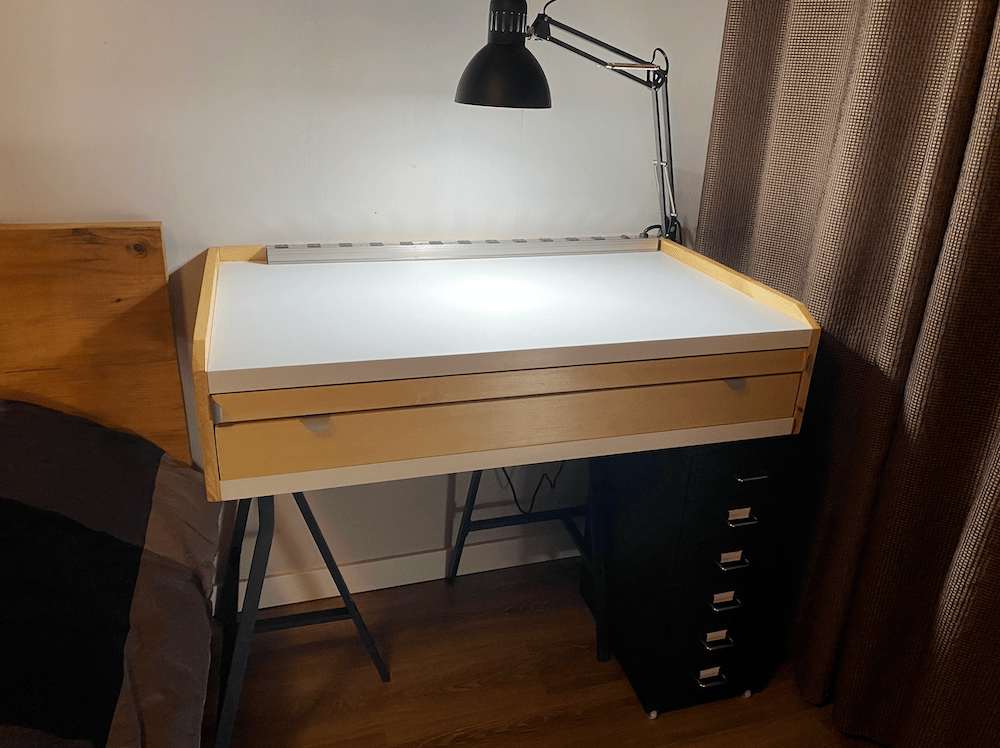
Once you’re ready to start the project it’s time to prepare a nice little workspace for yourself. Perhaps you’ve already done some work on watches before and you have a dedicated spot, that would be ideal. If not, you’ll need to create a comfortable area to proceed with the work. I’d recommend a nice stable work chair, a desk that’s at a comfortable height for you, and a soft work pad to place the watch and tools on.
Tools
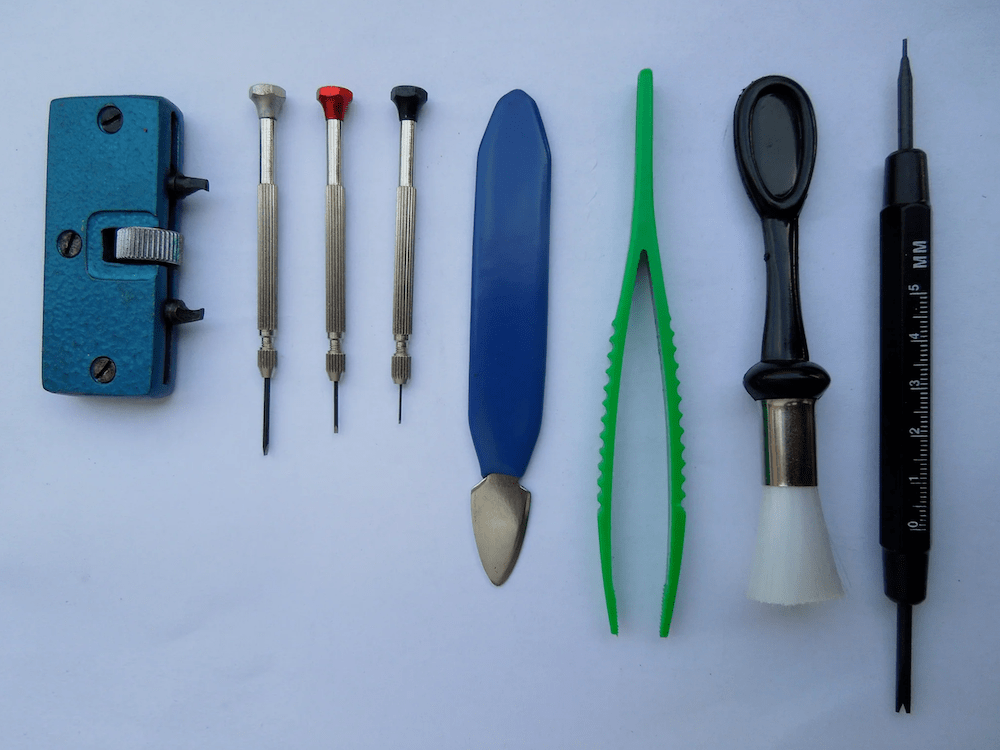
Depending on your watch you’re going to need a specific set of tools. These tools can vary from a caseback opener, small screwdriver set, or simply a bezel remover tool. If your watch has a snap on bezel a specialized case knife or a very thin blade may be needed to pry the bezel off.
Removing the Bezel
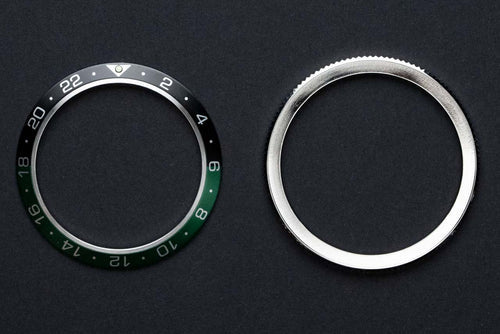
For a snap-on bezel gently insert the pry tool under the bezel and carefully lift up. Work your way around the bezel insuring you get all the sides up equally. Do this slowly and carefully until the bezel is completely removed.
For a screw-down bezel use a bezel removal tool or a screwdriver to loosen any visible screews securing the bezel in place. After removing the screws be careful not to loose them, store them in safe memorable spot.
Inspect and Clean
At this point you should have now successfully removed the bezel. The next step is to do a visual inspection and look for anything that could have been causing the loose bezel. Look for any dirt or debris, also inspect the bezel and around the watch for any damage or bent parts. Use a soft brush to clean if needed. If you do happen to notice any damage this I the point where you should bring the watch to a professional watchmaker for repair.
Tighten and Adjust
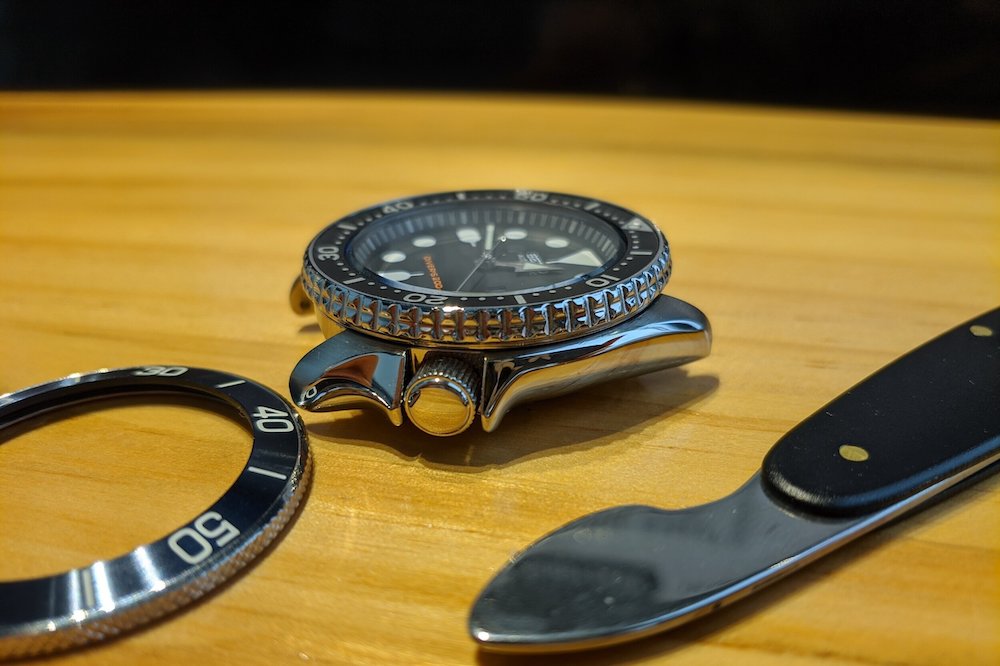
If you made it to this point this is where you’ll actually be tightening the bezel. For screw down bezels you might need to adjust the tightness of the screws or replace any worn parts. For snap-on bezels ensure that that the clips or the mechanism that holds the bezel in place are not damaged, if anything is bent try to bend it back into place as this could be why the bezel was loose. It’s important to do this cautiously as watch parts can be fragile and are easily damaged.
Once the underlying issue has been resolved you’re now going to place the bezel back onto the watch. For snap-on bezels it’s as simple as snapping them back in, place the bezel back into its position and and press down evenly around the edges until it pops back into place. Screw-down bezels will require for you to replace and tighten the screws evenly, this is to avoid any uneven pressure which could lead to damage. Proceed slowly for both of these steps.
It’s now time to test the bezel and see if your issue has been resolved. If you did notice any bent parts or misaligned screws and fixed them, then you should now have a fully functional bezel that is tighter than before. Gently rotate the bezel as you would normally to ensure it’s securely attached and functioning as it should.
Final Thoughts
If at any point you feel uncomfortable or unsure about proceeding, it’s best to stop and consult a professional watch repair service. Attempting to force parts or using incorrect tools can easily damage the watch. Remember, these instructions are general and may not apply to all types of watches, especially high-end or specific models with unique mechanisms.
Leave a Reply